After unlocking and investigating Violet's room in Stonewood Manor, you can find a man dressed as a sailor just inside the front door downstairs to begin this harrowing affair. Talk to him and you can observe and profile him as a messenger from Vogel's Art Gallery, disguised to test Sherlock. After talking to the fake sailor, he'll give you an invite to the gallery - you'll find it at the intersection of Bazaar Rd and Hermes Ave in Old Town.
 Screenshot by Creamofgames
Enter and you will soon find Vogel. Talk to him to find out there's been a theft in his underground gallery, then drop down into the AC Swinburne room to begin your investigation.
 Screenshot by Creamofgames
Round the left corner at the bottom of the stairs to investigate a shovel and a set of dirty footprints. Open the coal chute door to find more dirty footprints and scratches from a magnet.
 Screenshot by Creamofgames
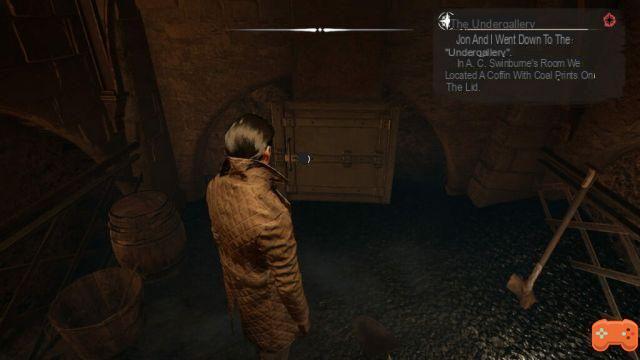
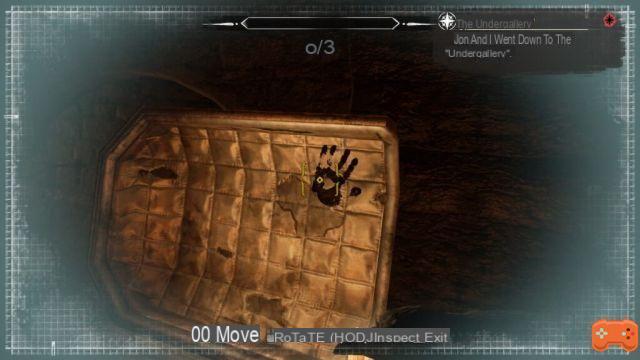
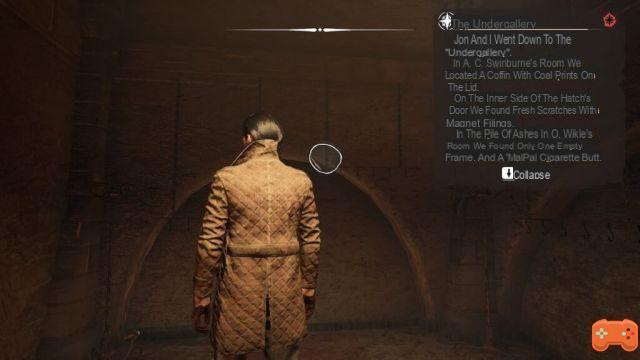
Exit this room and you will find a coffin located on the wall with a skeleton inside. Investigate - you'll find a few interesting things, but the most important clue is the handprint of the charcoal inside the lid of the coffin.
 Screenshot by Creamofgames
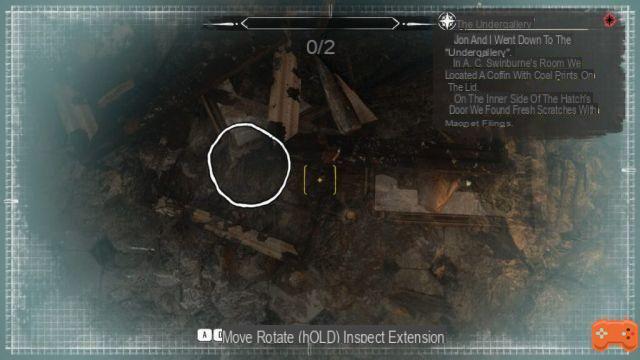
Continue through the underground gallery until you come to a pile of burnt artwork. Scan it with your Focus Mode and you'll find remnants of a MalPal cigarette with an empty frame. Be sure to rotate the cigarette until you find the charcoal indentation.
 Screenshot by Creamofgames
Head to the end of the hall now to find the final pieces of evidence here. Scan the wall with your Focus mode to get a glimpse of the wall before the paintings are dismantled and burned.
 Screenshot by Creamofgames
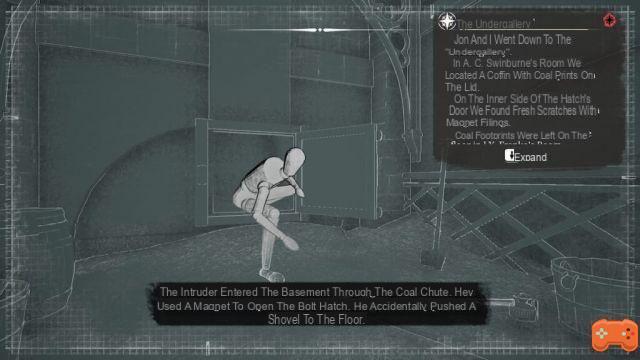
You should have all the evidence you need to reconstruct the crime scene. Return to the stairs to find the node and set up the scene as follows:
- Unknown intruder exiting coal chute.
- Unknown intruder in the coffin.
- Vogel at the stairs.
- An unknown intruder dismantles and burns paintings.
 Screenshot by Creamofgames
Once successful, return upstairs and share your findings with Vogel. He'll ask you a pretentious question about the art downstairs - your answer won't change anything. Exhaust your dialogue options however you see fit and Vogel will give us a name to search for: Boniface Mercurio.
Head to the Cordona Chronicle Archives and make sure you've pinned Mercurio's Proof of Address to search for the following:
- Period—Recent.
- People—Celebrities.
- Neighborhoods—Old Town.
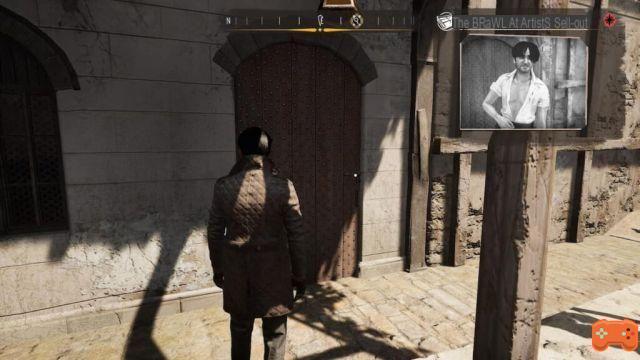
This will give us a photo of Mercurio and an address – an apartment on Hermes Ave, halfway between Scarlet St and Olive St in Old Town.
 Screenshot by Creamofgames
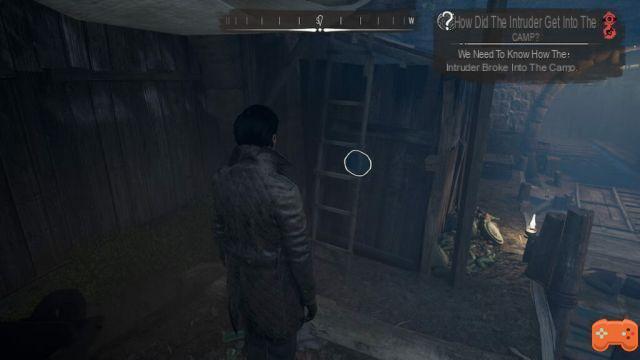
If you enter the apartment right away, you will quickly find that the landlady is not going to cooperate. Leave and head south to the nearby Old Town Market and find the Clothing Merchant to purchase and equip the following items:
- Bohemian outfit.
- Messy hair.
- Artist hair.
- Artist bronzer powder.
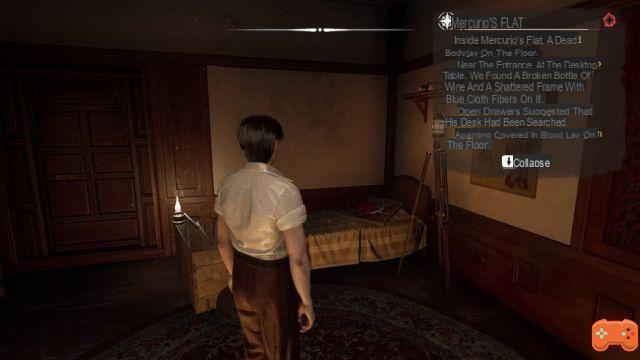
You should now be fully disguised as Mercurio. Return to the apartment and the landlady will greet you warmly and let you into Mercurio's apartment. Enter and you will find the corpse of Boniface Mercurio.
Related: How To Solve A Golden Gauge Case In Sherlock Holmes Chapter One
Start by investigating the body and you'll find clues by scanning his neck wound, chest, hand, bloody rags, and the bloody knife right next to him. At his feet you will find a bloody painting.
 Screenshot by Creamofgames
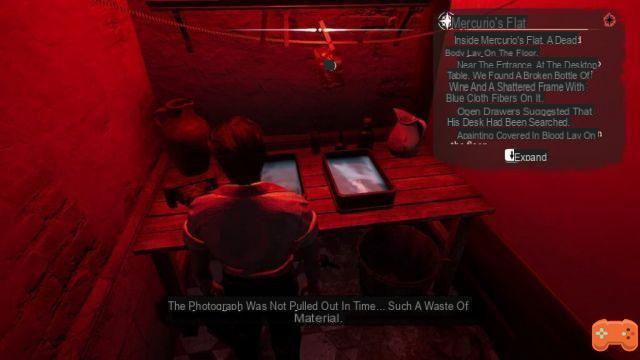
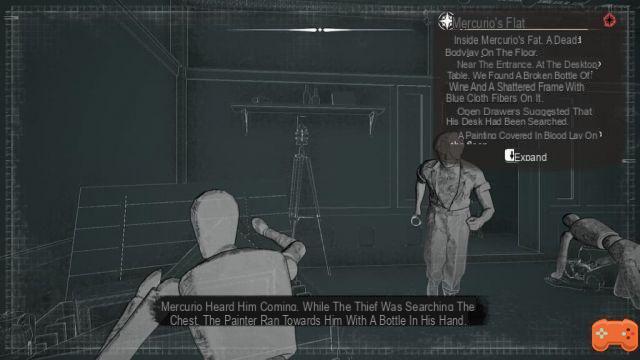
Find the office nearby and investigate it. You'll find Mercurio's fancy camera, a broken mirror and a bottle of wine, a missing knife, and some clippings in an open drawer. Proceed to the bed area – examine the collection of wine bottles by the door, the chest of paintings, and the morbid painting on the bed.
 Screenshot by Creamofgames
From there, head to Mercurio's dark bedroom where you'll find some pictures related to the painting on the bed.
Screenshot by Creamofgames
After examining them, a node should appear in the chamber. Interact with him to reconstruct the crime scene as follows:
- Unknown thief looking for paintings near the bed.
- Mercury crushing an unknown thief with a bottle.
- Mercurio grabbing the painting, an unknown thief stabbing with a knife.
- Unknown thief banging Mercurio on the floor near the door.
 Screenshot by Creamofgames
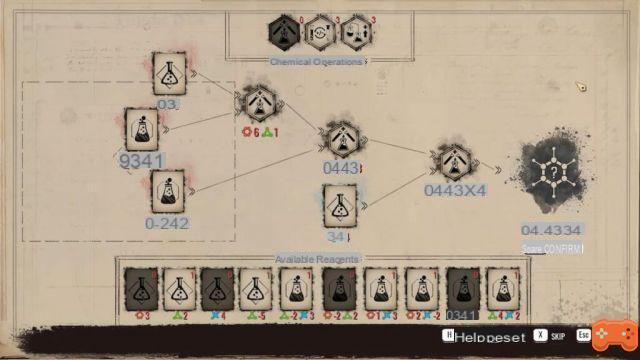
Now take the bloodstained paint and choose to perform a chemical analysis on it from your case book (see screenshot below for the correct combination).
 Screenshot by Creamofgames
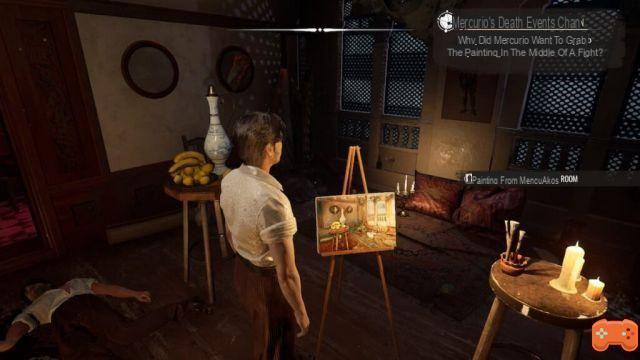
Place the restored painting on the easel and note the two differences in the piece: a missing animal skull and a large log in the corner. Interact with the log and the empty space on the wall where the skull once hung.
 Screenshot by Creamofgames
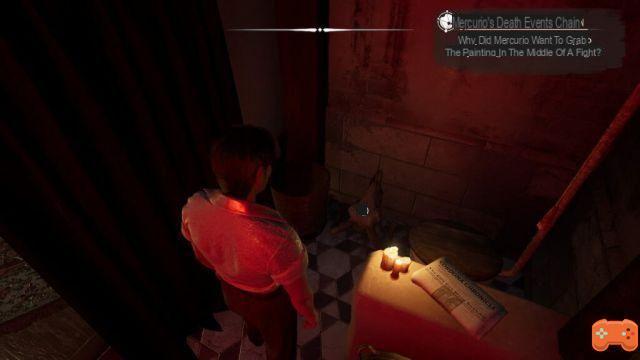
Return to Mercurio's dark room and look on the floor to your left. You'll find the missing skull along with a heartbreaking photograph, which is the final clue for the area. After you find it, Jon will take it from you and just draw the relevant pictures of a refugee woman and the suspicious devil.
 Screenshot by Creamofgames
Jon Challenge 1: After learning the truth, Jon will implore you to stay in character when talking to the landlady and calmly ask her to call the police. For the best outcome, choose to stay calm and in character during your dialogue options with her - you'll win the Dead Man Walking Jon Challenge and gain better insight into the murderer.
Talk to the landlady as you see fit and get out of the apartment. From here:
- Pin the photo of the refugee.
- Dress up in a local costume.
- Find and talk to anyone of African descent.
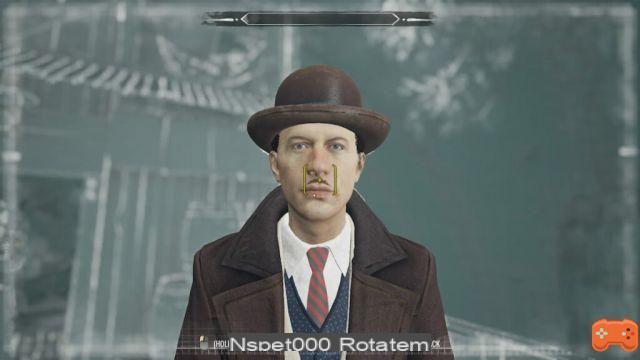
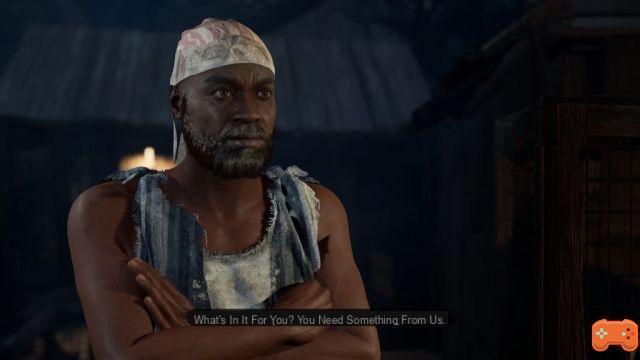
You will be directed to a refugee camp located under the Victoria Bridge, which you will find between Silverton and Scaladio. When you cross the bridge, look for an opening in the side that will take you down a flight of stairs and into a screaming crowd and the police. Talk to Mr. Harlow (the man in the hat and brown coat) to progress.
 Screenshot by Creamofgames
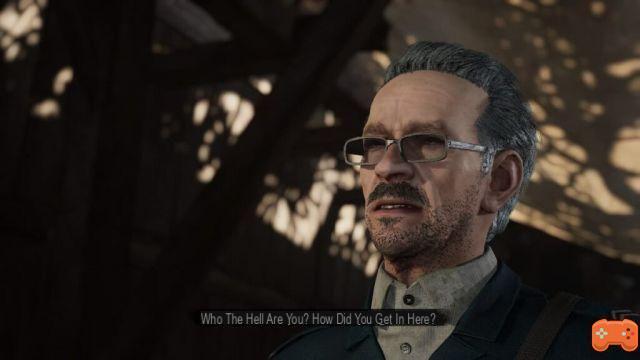
After observing and profiling him, browse his dialogue options as you see fit and take the opportunity to offer your help when prompted. Eventually, he will give in and allow you access to the refugee camp. Ask him about the situation and enter the camp to talk to a middle-aged officer just inside.
 Screenshot by Creamofgames
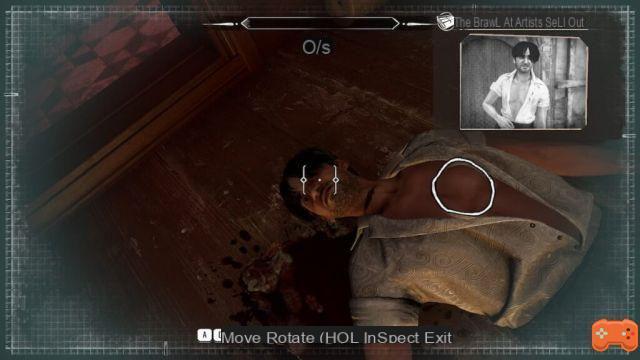
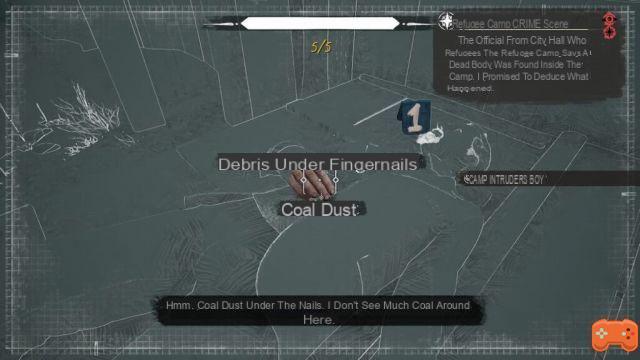
Once you're aware of the situation, push deeper into the camp to investigate the corpse to your left to examine a bloody dagger, neck tattoo, and boots. Enter concentration mode to examine the hand.
 Screenshot by Creamofgames
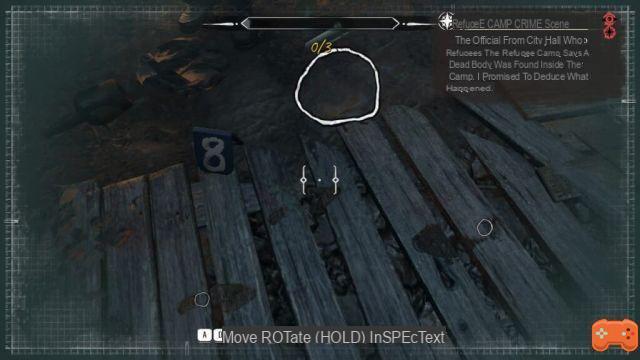
From there, follow the numbered trail that Cordona PD conveniently left for you and you'll find an easily spotted piece or two at each marker. The trail goes from 1-9, and you can find numbers 8-9 near the camp entrance, closer to where you found the body.
 Screenshot by Creamofgames
 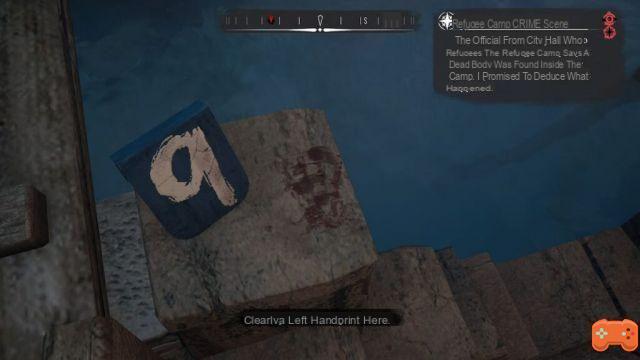 Screenshot by Creamofgames
From there pin down the evidence of how the intruder entered the camp - examine the beach near the back of the camp and a ladder behind the middle-aged officer.
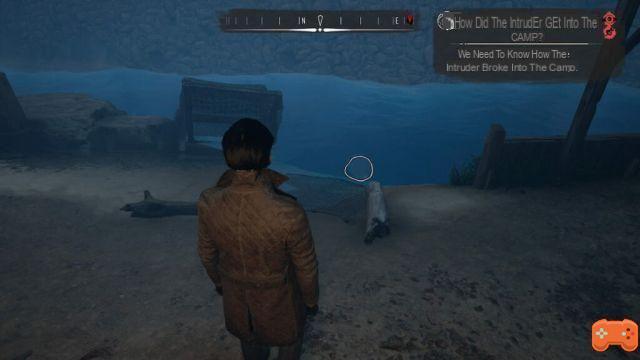 Screenshot by Creamofgames Screenshot by Creamofgames
Now enter the tunnel near where you found the body, you'll find a sewer entrance and two cops you can spy on.
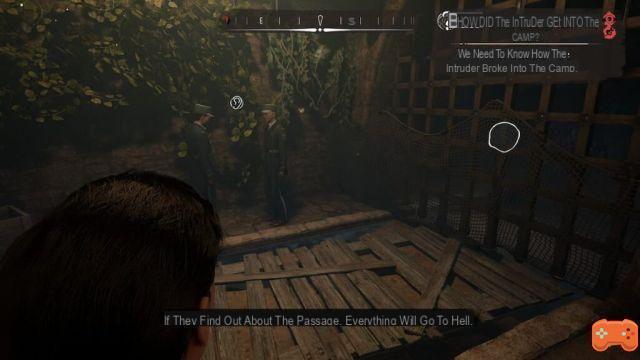 Screenshot by Creamofgames
To successfully spy on the two cops, choose to keep the following sentences:
- Money.
- Camp lock.
- Take out the refugees.
Now head to the main entrance and look down to find a pile of cigarettes. Investigate the pile - you'll find a MalPal cigarette butt which confirms the police just let the killer in through the front door.
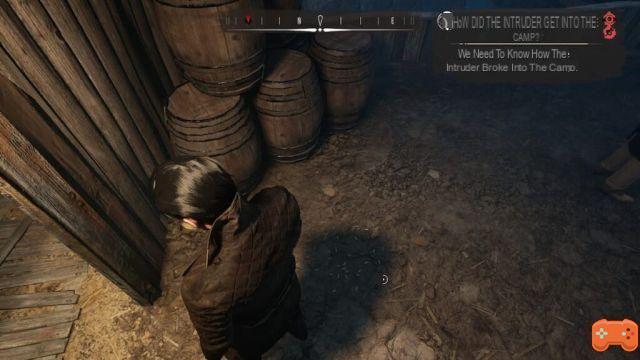 Screenshot by Creamofgames
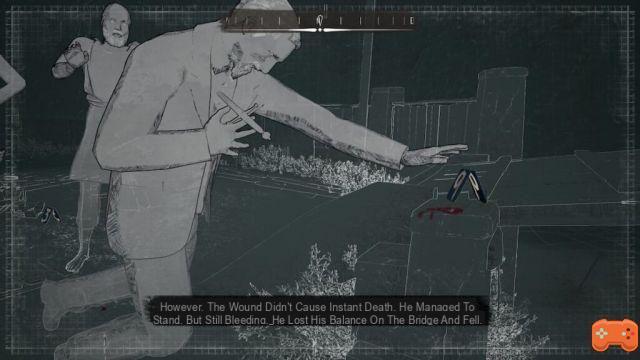
Return to the camp to find a node, interact with it to reenact the events of the scene. To do this, start at evidence marker 7 at the rear of the camp and arrange the numbers as follows:
- Killer with a knife dragging a woman.
- Refugee attacking the killer with a stick, the killer dragging a woman.
- Woman falling back with broken bracelet, killer facing other refugees.
- Killer fleeing refugees, near marker 8.
- The refugees kick boxes, the killer falls on them.
- Killer kneels at evidence marker 9, knife in chest.
Then, return to speak with the middle-aged officer and Mr. Harlow to share your findings.
 Screenshot by Creamofgames
 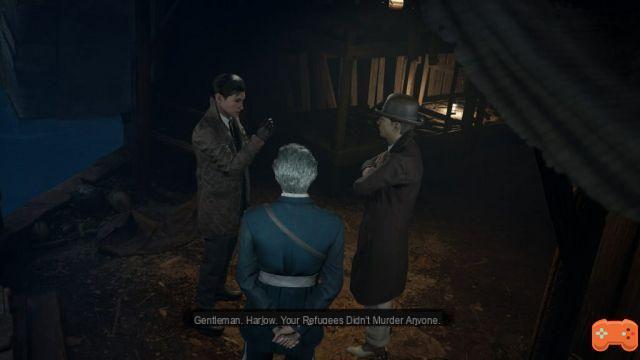 Screenshot by Creamofgames
Jon Challenge 2: During your stay in the refugee camp, Jon will ask you to go deeper and understand what is happening behind the scenes. To complete the What's Happening at the Refugee Camp challenge, talk to one of the refugees with the pinned challenge after absolving them of any responsibility in the case and you'll complete the challenge.
Now pin the photo of Neila, the refugee in your photo, and go to the back of the camp to talk with the refugee guarding the cabin. Go through her dialogue options and you'll eventually have the chance to speak with Neila.
 Screenshot by Creamofgames
She's not entirely happy with your offer of help, but she provides an integral clue that will lead you to the people responsible for her trauma: a drawing of a badge in the Devil Suspect's photo. Before you leave camp, talk to the middle-aged officer about the tattoo you found on the corpse and he'll point you in the right direction for the home stretch of this case.
 Screenshot by Creamofgames
Jon Challenge 3: Jon will offer you to help the dying refugee who was injured by helping Neila. Pin the challenge, grab clothes hanging on the right side of the camp, Aloe Vera in the sewer tunnel, and interact with the culdron in the center of the camp.
In your case book, access the challenge and start the chemical analysis (see screenshot below). After succeeding, interact with the injured refugee to complete the challenge. If you leave the camp after solving this part of the case, you will fail the challenge.
 Screenshot by Creamofgames
Leave the camp and go to the town hall…